
Soldering is not a new practice. It has been used as a method of adhesion between two metals much like brazing or welding in metalwork for up to 5000 years. Different alloys are used for different applications in many industries for their specific characteristics like temperature resistance, corrosion resistance or tensile holding force for example.
In electronics, Soldering is a semi-permanent process that employs three main components to complete.
- First, a soft metal (usually tin), combined with another metal such as lead or silver is married with a rosin core which when heated, not only cleans the metals for bonding but also facilitates the flowing of molten solder and the rapid chemical heating characteristics that help the two metals bond together. Rolls of solder are sold showing their metal compositions and applications so make sure you select the correct type for electronic use.
- Second, A heating source is required to liquify the metal to be applied between two connections whether wire to metal, wire to wire, or metal to board on pcb’s. When hand soldering, a professional soldering iron is the tool of choice in professional production. The better quality the iron, the better the result. We choose Weller Professional here at C-T Wire Prep Inc.

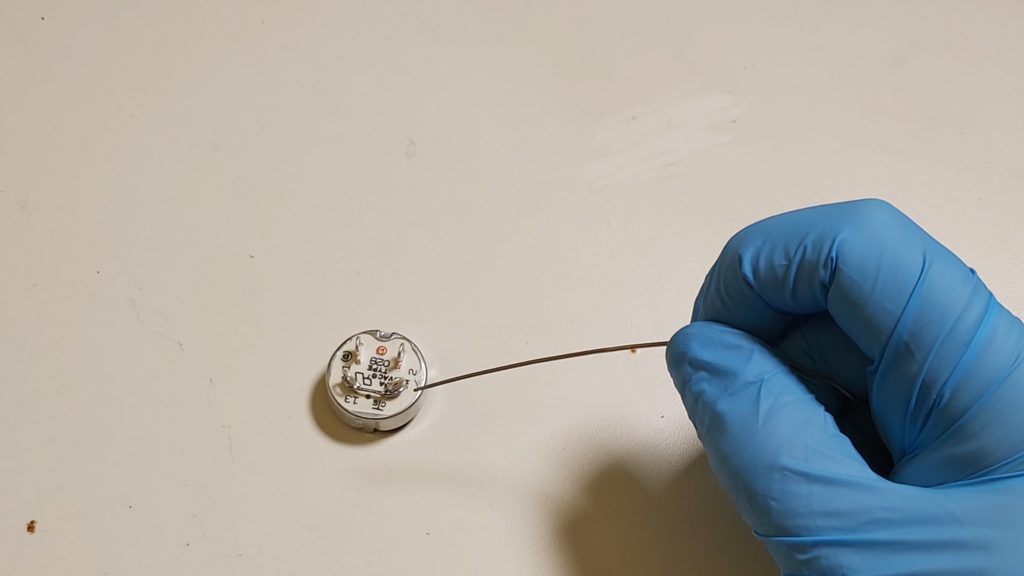
3. Lastly, you’ll need your two pieces to be bonded. Most often, copper is one of the two metals being bonded and in electronics is almost always present in some capacity whether part of the wire or part of a component. In order for
In order to create a solid, air tight bond between the metals, the solder must be heated until it is shiny and flowing. once sufficient heat is reached, you can see the joint solidify as a whole when heat is removed. If this process fails to get hot enough, a cold solder joint is formed. A tell tale sign your solder joint is a cold joint is that the solder will not look smooth around the bonded parts. There is air present within the bonded metals and often, these connections will not even pass electricity through due to electrical resistance created.
The Process:
There are many little intricacies and fine details to soldering that make the process somewhat of an art. There is a mechanical component to it, as well as a visual aesthetic to be achieved.
The speed of application, temperature, amount of solder applied, and length of application all affect the intended final result.
Let’s start at the beginning of the process and walk through the entire process from start to finish, highlighting details as we go.
To begin, make sure you have a decent length of “WIP” solder pulled off the spool so you can maneuver it fluidly. Hold the solder about 3 inches from the tip to maintain accurate control of the solder as you heat it.
Next, we want to hold the soldering iron like a pencil in the other hand to have accurate control of the iron while soldering.
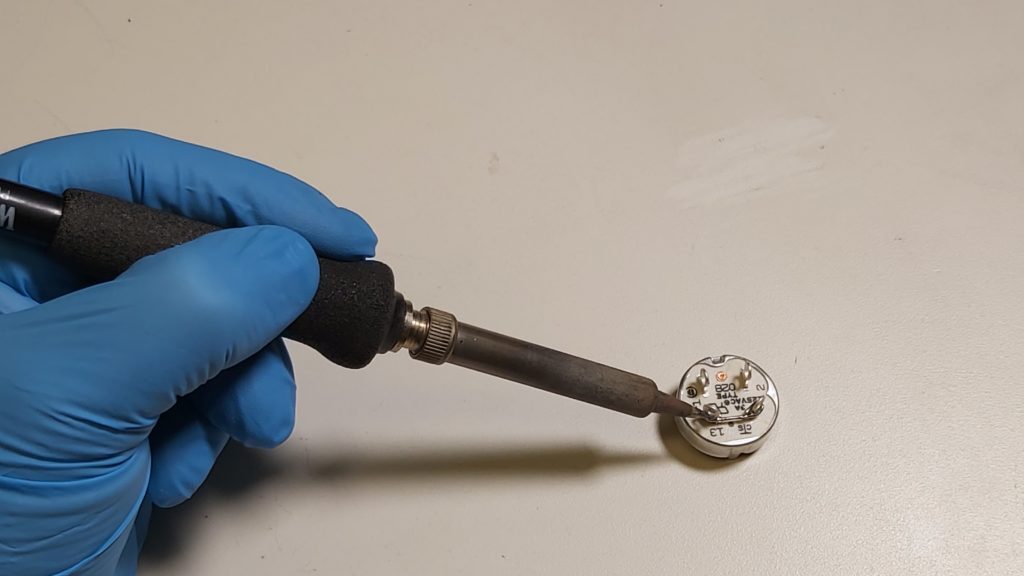
It is important for accuracy when soldering to keep your hand or at least a pinky finger placed in contact with the worksurface to allow pivoting the iron smoothly without shaking.
Many on-the-job burns are a result of a misplaced, or shaky iron hand when the user failed to keep in contact with the surface to maintain accurate handling.
Lets Talk Heat….
We all know that hot air rises. In soldering, we apply the same physics by placing the soldering iron tip onto and UNDER the connection’s location we wish to heat. This way we heat the connection as fast as possible, apply the solder and get the heat back off the connection before damage to either of the two pieces ensues.
We need to understand the fine details of where to touch the solder to the components being bonded. See, if we try to melt the solder onto the component first, the cold solder is touching the component surface which is still in the process of heating. Bondage this way is very difficult. If we first apply some solder to the iron’s tip, then place the iron against the component to be bonded, now there is molten hot solder at the surface of the component and the solder can easily melt to the connection and flow properly.
The best way to achieve this is to first touch the solder tip between both components to be bonded. Then, feed the solder onto the solder iron tip and allow it to flow onto the component before moving the solder wire over to touch on the component itself and add more metal.
This entire process happens in about 3 seconds during application. Once the solder quantity is reached on the joint, continue applying heat until you can see the liquid solder flow around and through the joint like water.
Once visual flow is achieved, we know the solder is hot enough to create a sealed bond. Components must remain exactly in the same spot for a couple additional seconds after the heat is removed in order for the entire joint to solidify as a whole.
Solder Tip Health
Maintaining a clean soldering tip is important for the quality of the finished connection aesthetic.
Soldering tips are made with a special coating allowing them to super heat the metals quickly, and add temperature sensing to the tip. As you solder, there is buildup of slag which is unusable metal and burnt particles that are byproducts of the burning process.
Use a natural sponge wetted with water to drag your soldering tip across on all sides. This makes a perfect clean tip for the next application. Apply a bit of fresh solder to it and continue as normal.
To Wrap Up…
- Always prepare your work surface with all tools required before you sit down to solder. Movements around high heat only escalates the risk of injury and safety is paramount.
2. Provide a foundational pivot point for moving the soldering iron accurately
3. Apply heat UNDER the connection location
4. Touch the iron to both bonding surfaces, but apply solder to the solder iron tip before moving to the components
5. Continue applying heat after solder qty threshold is reached for a couple seconds to visually see solder flow
6. Hold steady after heat is removed until visually seeing the joint solidify
Voila! you have the tools needed to solder at the highest level.